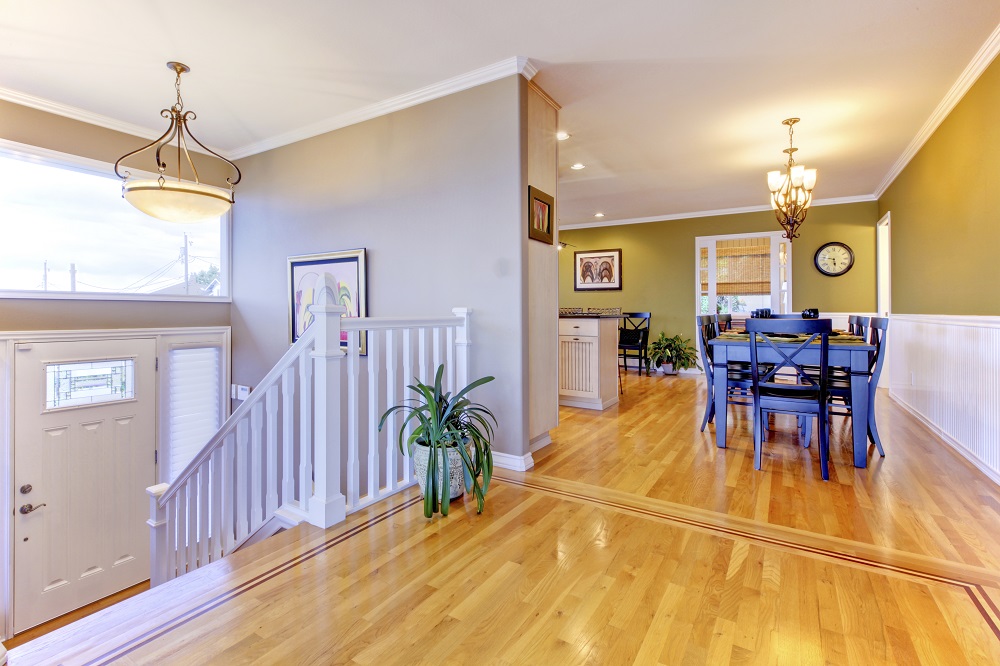
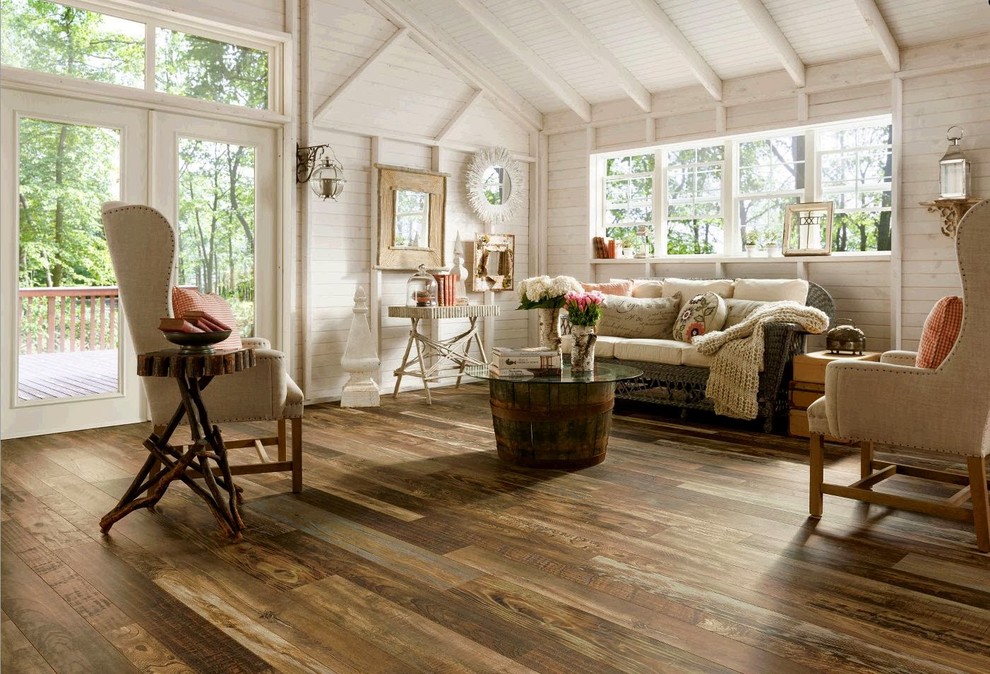
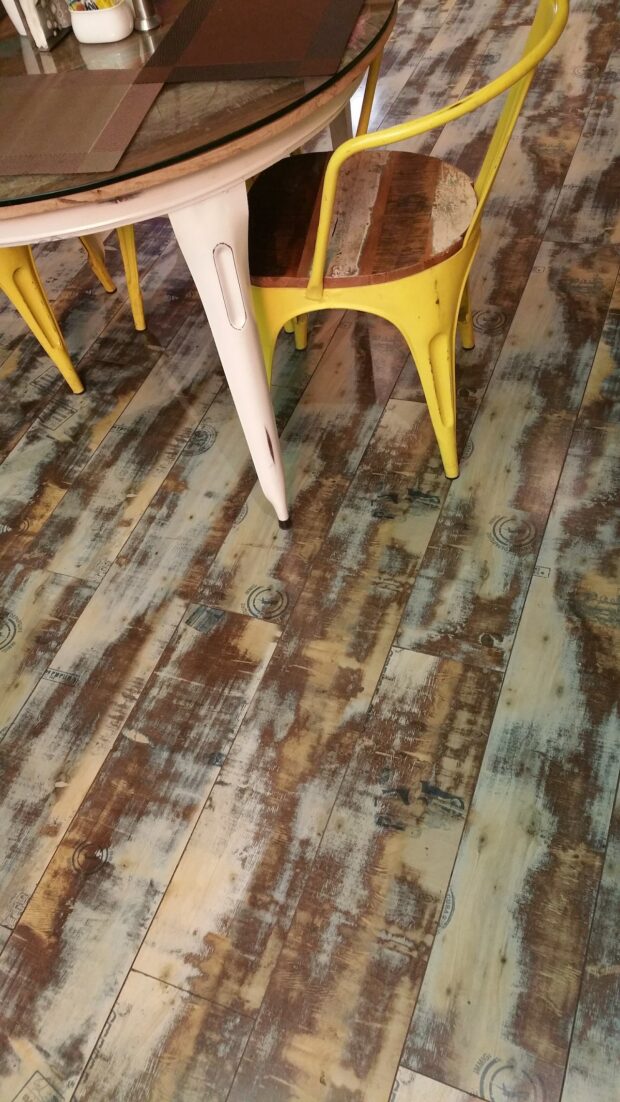
If you’re lucky enough to have hardwood floors in your home, you’ll know just how stunning they can look when freshly polished. Whether it’s a subtle yet sophisticated sleek finish or a deep rustic patina sought-after by many homeowners, the endless range of finishes makes wood flooring popular. However, surface wear, dullness, and scratches can take their toll on any quality hardwood floor over time. It may be time for a refresh! Refinishing your wood floors isn’t as tricky as you might think — with our helpful guide and tips, we’ll help make this home improvement project simpler than ever before. Read on to find out how you can refinish your hardwood floors like new.
Preparing the room for refinishing – remove furniture, pictures, and any items from the floor
Before you can refinish your room, it’s important to prepare the space properly. This means removing all furniture, pictures, and items on the floor. While this may seem like a hassle, it ensures that your refinishing project is as smooth and hassle-free as possible. You’ll have plenty of space to work with, and you won’t have to navigate around any obstacles. Plus, you’ll avoid any potential damage to your belongings. So, take some time to empty the room before you begin your refinishing project. Trust us, it’ll be worth it in the end. Even if you’re working with a professional company like Rejuvenation Floor & Design, this will be helpful.
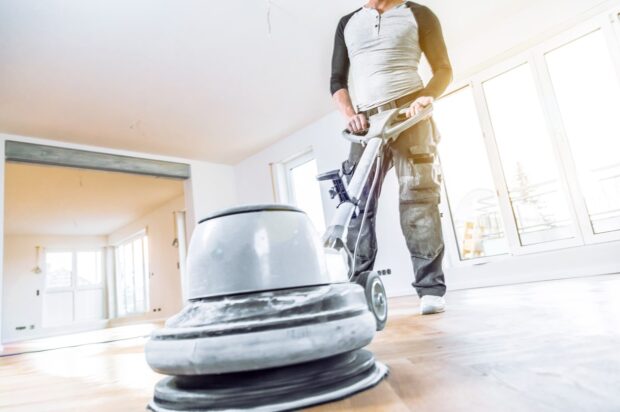
Sanding down the floor to get it ready for staining or sealing
If you consider giving your floors a facelift, sanding them down is critical. Sanding removes any scratches, scuff marks, or stains that can be difficult to disguise with just staining or sealing. Before starting, it’s a good idea to assess the condition of your floors. You may want to call in a professional if they’re in a really bad state. But if they’re just looking a little tired, sanding can be a DIY project. Having the right equipment is important, so rent a floor sander. Sanding takes time and can be dusty, so be prepared to cover up any furniture and wear a mask to avoid inhaling dust. Once you’ve finished sanding, you’ll be ready to apply a fresh coat of stain or sealant and enjoy floors that look as good as new.
Choosing a hardwood finish and type of sealant that suits your needs
When choosing a hardwood finish and sealant, it’s important to consider your personal needs and preferences. Are you looking for a glossier or more matte finish? Do you want a sealant to protect against heavy traffic or potential spillage? These are just a few questions to ask yourself before making a decision. It’s also worth researching different finishes and sealants, such as oil- or water-based options, to determine which will give you the desired outcome. With some research and consideration, you can find the perfect hardwood finish and sealant that meets your needs and allows your beautiful hardwood flooring to shine.
Staining and sealing the wood to add color and protection to the floor
Staining and sealing wood floors is one of the best ways to add color and protection. Not only does this process enhance the overall aesthetic appeal of your floors, but it also provides a layer of protection against scratches, spills, and other potential damages. When selecting a stain, a variety of options are available to match your desired look and feel. Whether you prefer a warm, classic finish or a more modern and bold color, staining and sealing can help achieve the look you’re going for. So if you want your wood floors to remain beautiful and long-lasting, staining and sealing is worth considering.
Applying several coats of sealant for added durability
When it comes to sealing surfaces, adding multiple coats of sealant can significantly increase their durability. Layering on several coats makes the surface better protected against moisture, heat, and natural wear and tear. Additionally, applying different coats at different intervals can allow the sealant to penetrate deeper into the surface, creating a stronger bond and enhancing its longevity. While applying several coats may require a bit more time and effort, it can save you money in the long run by extending the life of your surfaces. So, don’t be afraid to add a few extra layers of sealant for protection and peace of mind.