Whistler Mountain is beautiful in the wintertime, and you want to capture that beauty. There are few better ways to do that than to take your camera for a walk up the mountain and capture the trees, the sunset, the mountainside, and of course, skiers. Here’s how to do that.
Don’t Rely On Your LCD Screen
LCD screens are notoriously bad at capturing depth when everything is white or black. Judge the exposure using Matrix metering on manual mode and check the histogram in your image regularly. If it is a little “humped” in the middle, you can dial in a little compensation for the brightness.
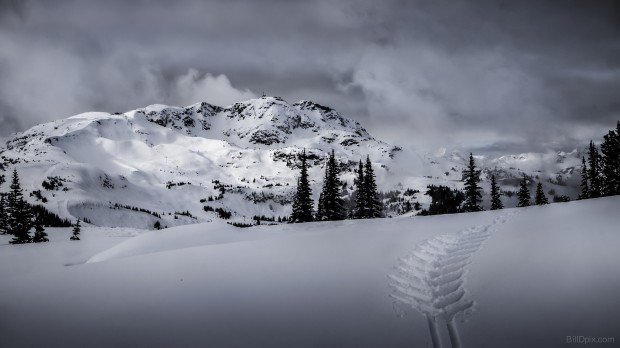
Image by Bill Devlin via Flickr
Also, check that overexposure indicators are not blinking – you don’t want a washed out photo. Finally, bring along a magnifier loupe that comes with a cover so that you can see the details on the screen. With all that snow around, and the sun bouncing into your eye, it’ll be difficult to see the indicators you need to see on your camera.
Make Your Shoots Simple
Capturing pure snow is difficult, because the lens on most cameras can’t differentiate. Images tend to overexpose easily, and white snowflakes are often accompanied by grey skies. This is where you must embrace simplicity.
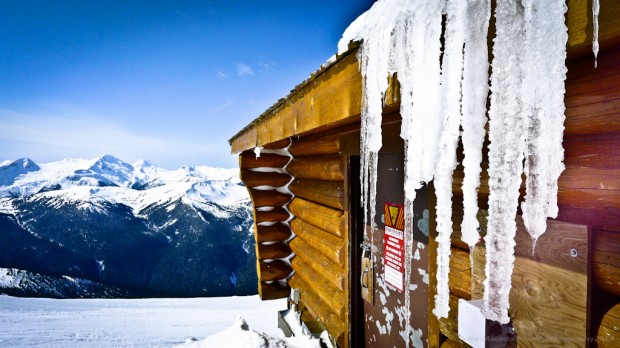
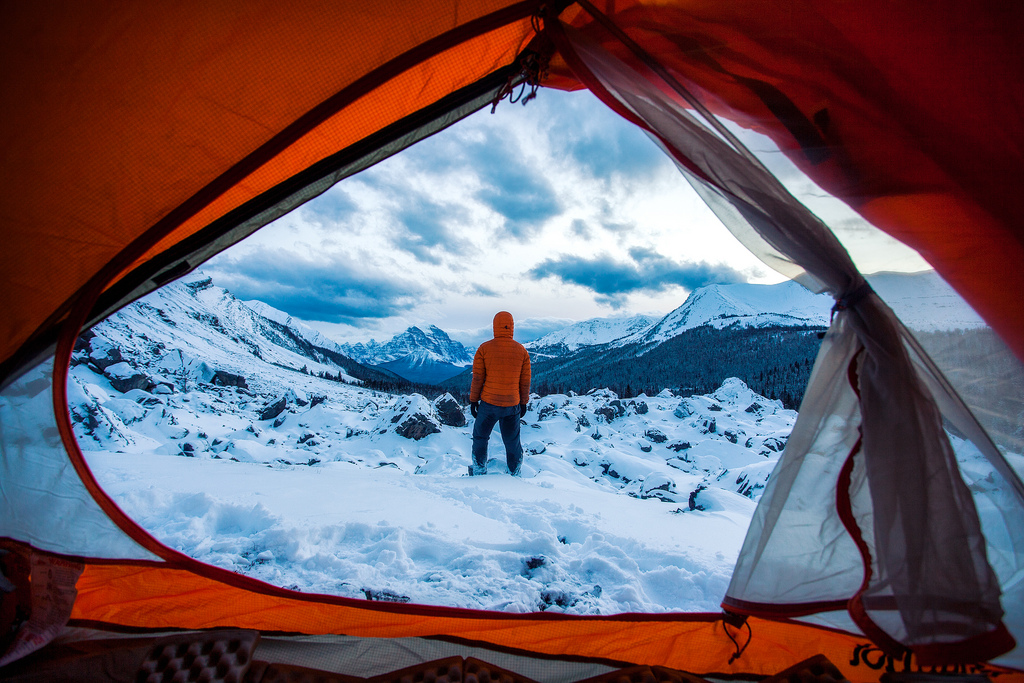
Image by PowderPhotography via Flickr
Don’t go for fancy or complex shots. Instead, aim for naturalistic photos, find points of color that stand out in the snow, if any. Timing may also be important. In the early part of the day, there may be more sun than in the afternoon – especially when it’s snowing. The best time for winter shots, in fact, is very early in the morning just as the sun pokes up above the horizon.
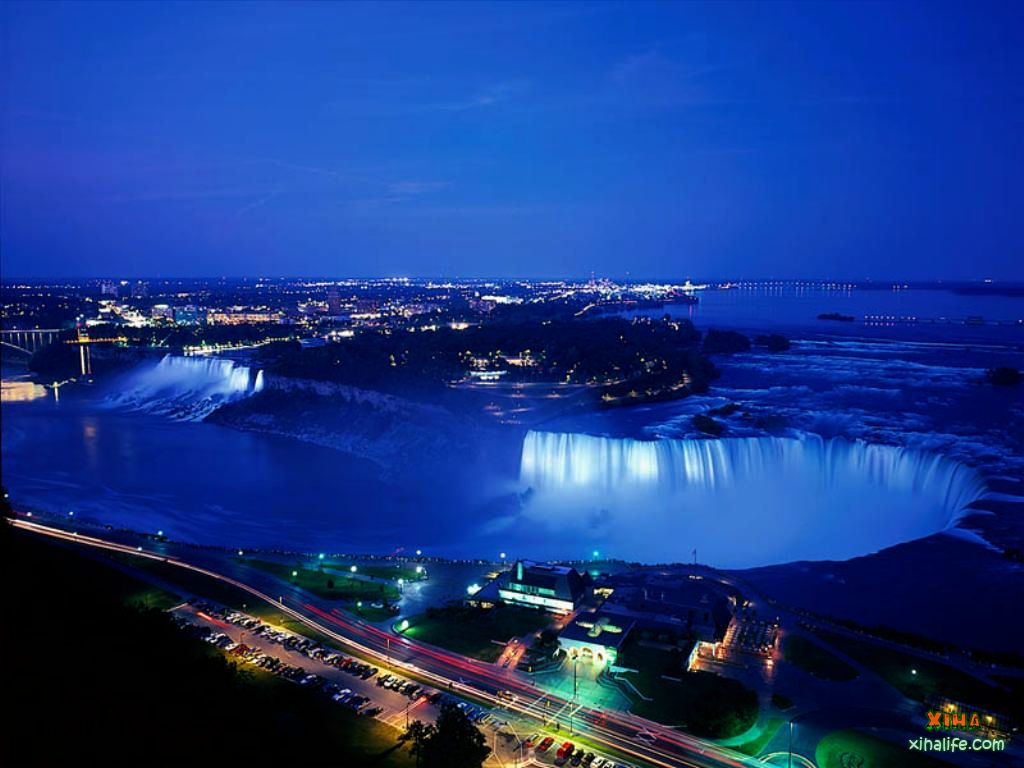
Image by Bill Devlin via Flickr
Protect Your Camera From The Elements
Condensation is your enemy. Never blow on the lens, as you might actually cause a layer of ice to form on it. Use dry cleaning cloths instead. If you know it will be wet, bring rain gear. If it’s snowing, keep the lens cap on it at all times until you’re ready for the shot.
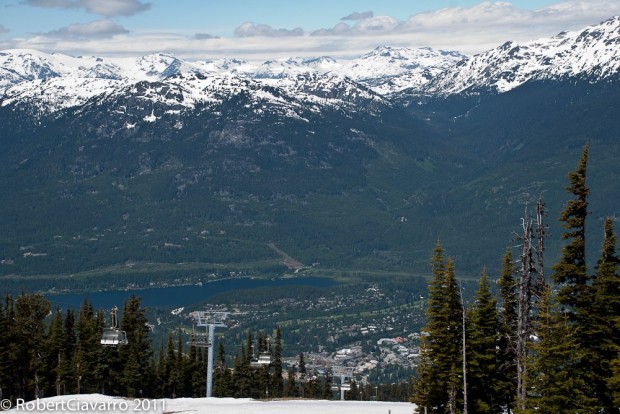
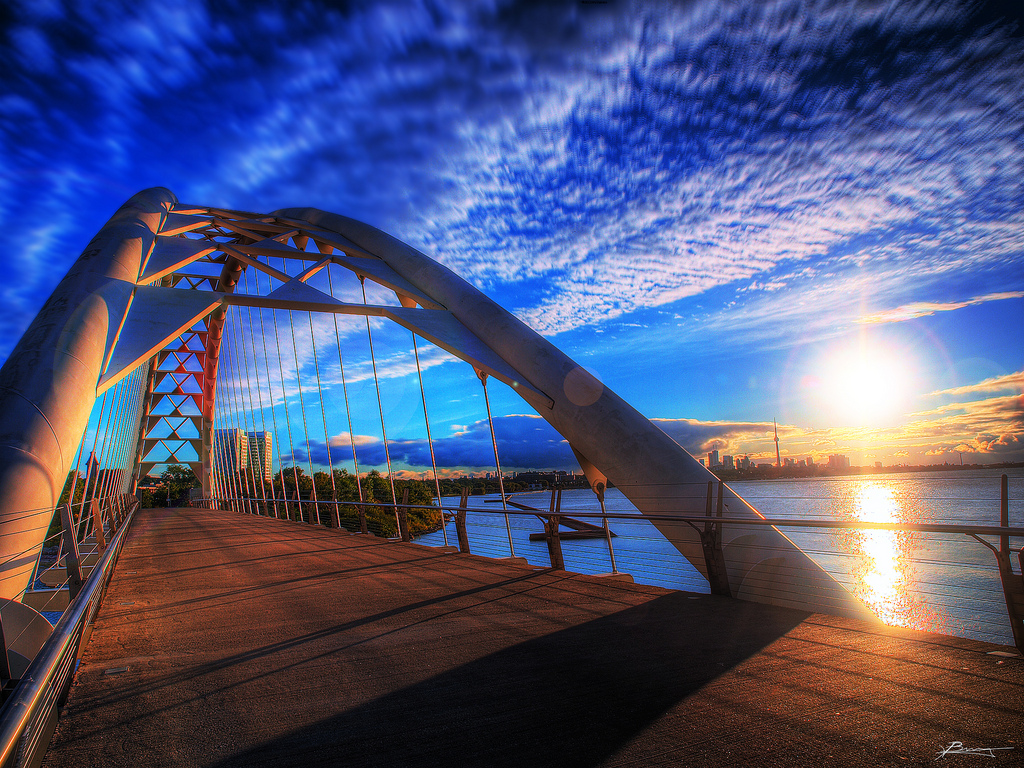
Image by Robert Ciavarro via Flickr
To protect your lens from snow, you can throw a plastic bag over the camera and leave a hole for the lens. Secure it with a rubber band.
Always have a backup plan – an “escape route” if the weather turns sour. These Whistler luxury hotels provide the perfect retreat when the weather makes it impossible to get a decent shot.
Keep The Lens Fog-Free
Your camera lens is prone to fogging, even in the snow. This happens when there’s a sudden change in temperature from warm to cold. Obviously, this makes it harder to shoot. So, if you want to move from inside to outdoors, put the camera in a plastic bag and put it down by your feet before you get in your vehicle. Leave the bag closed and only open when you’re back outside.
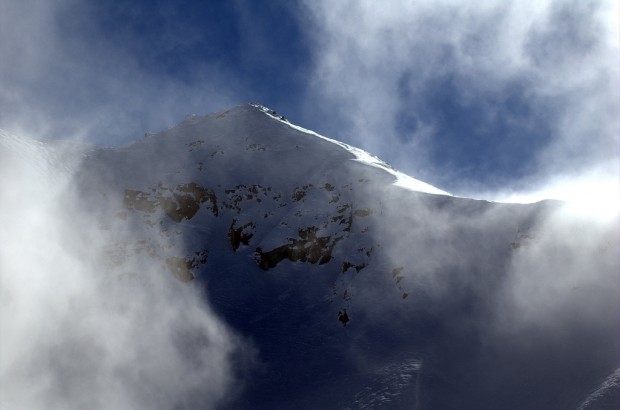
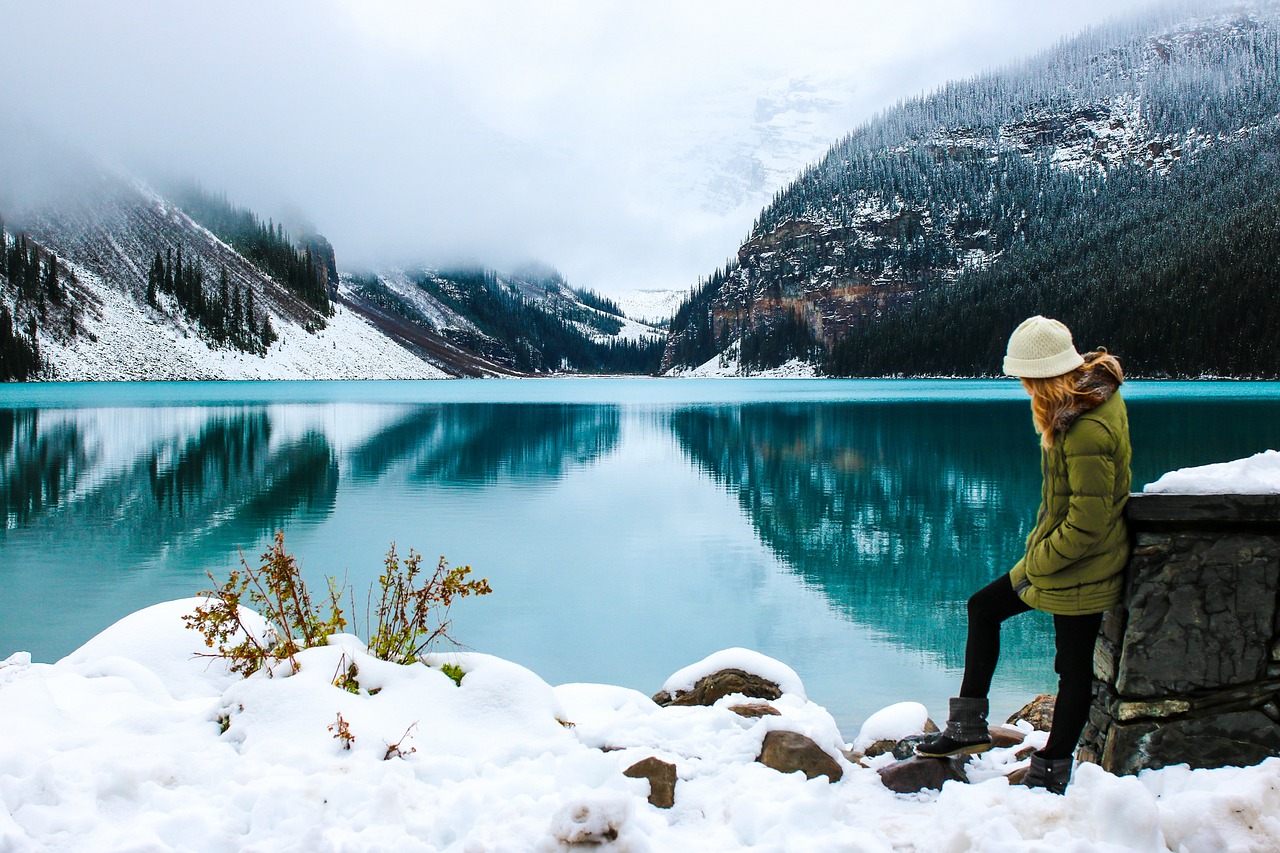
Image by Ken Douglas via Flickr
This little trick creates an air bubble that “insulates” the camera and keeps it at a more constant temperature than if you were to just throw it in the car unprotected.
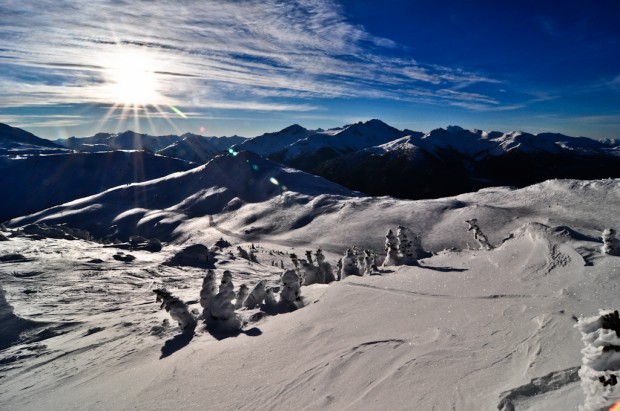
Image by PowderPhotography via Flickr
Author Bio
Scott Boland is an avid sportsman, traveler and amateur photographer. When he finds a great location, he likes to share it with others by posting online. He mainly posts on travel and photography websites.