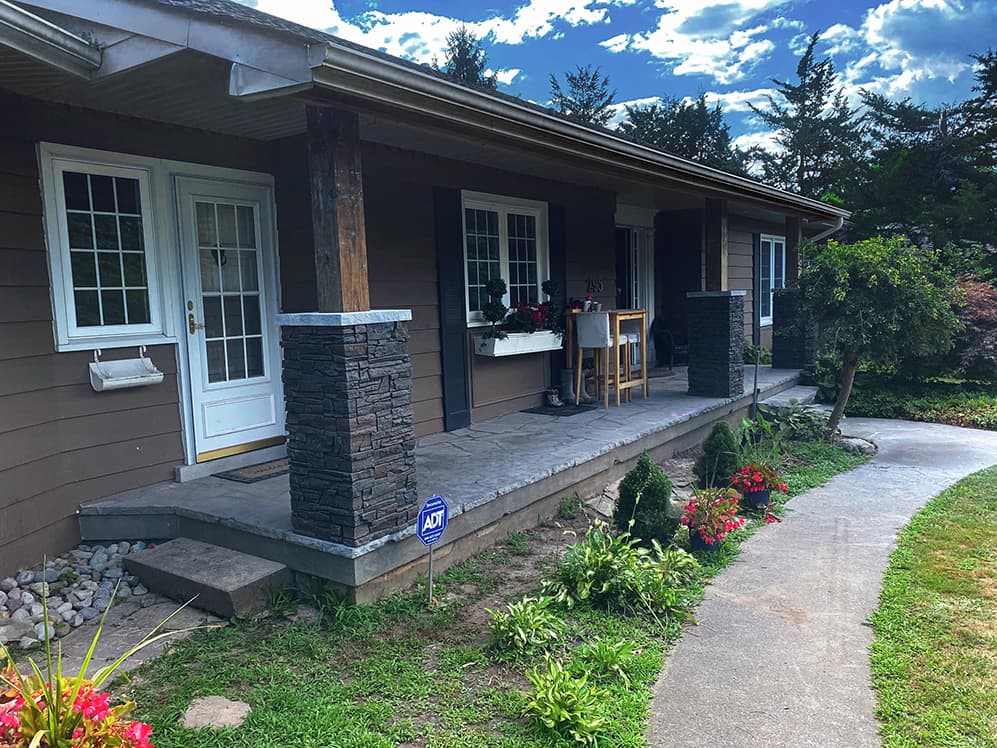
A new coat of paint may give your mailbox flair and increase its curb appeal. However, you can construct your own mailbox with proper instructions which might last for many decades. Follow this seven-step guide to learn how to create a Custom mailbox. To construct and personalise each component, follow these instructions.
1. Cut Your Post
A post-mounted mailbox is made out of a vertical post that extends out of the ground and a horizontal base that the mailbox sits on. Determine the length of your horizontal piece first, and then measure and cut your post. Your horizontal piece should be long enough to accommodate the length of the box, the width of your vertical post, and the length of wood to emerge from the back. Mark and cut the edges as required with the help of a circular saw.
2. Create a Mailbox Post Using a Half-Lap Joint
You must first be aware of where the two pieces would intersect. Arrange your pieces accordingly so that they are perpendicular to each other. Mark lines on the vertical piece that is precisely the width of the horizontal piece using your pencil. Set your circular saw to half the width of the post and cut every eighth inch between your pencil markings, but not on them. Avoiding pencil markings can assist to guarantee a good fit.
There will be pieces of wood left in the middle, these can be tapped out with the help of a hammer. Ensure that the horizontal piece fits precisely in the gap created. Repeat this method with your horizontal piece so that when you join them at the notch, they fit flush at a precise 90-degree angle. Tap them together with a hammer, then fix them with a few grooved nails.

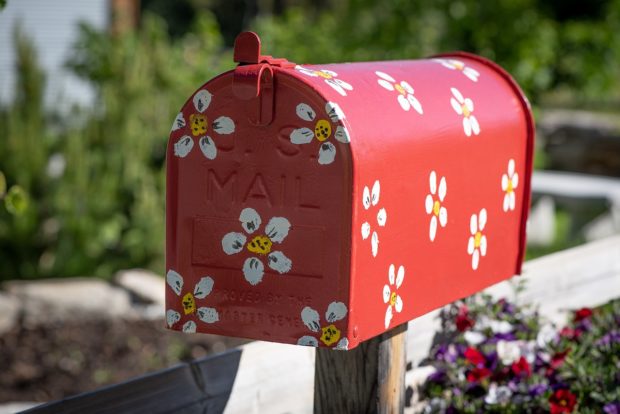
3. Customize your mailbox
You can paint your mailbox the colour you like. If you wanted to customize your old mailbox you can remove the screws of the mailbox. You can use spray paint for the base. For customising the mailbox more, you can also hand paint it using water-resistant acrylic paint.
4. Painting the post
If you have chosen material like cedar for your mailbox, there would be less damage caused by water. For weatherproofing and decoration, you can use water-resistant paints. If you find any cracks in between the wood, you could use a wood filler. After sanding the post down, you can coat it with a primer. Use the primer for the bottom of the mailbox too. This is because it would help the bottom too from being resistant towards the water. You can also sand in between the coats if necessary. Allow it to dry before moving on to the next step.
5. Setting the mailbox to the ground
Clear a two-foot-wide hole for your mailbox with a shovel. Digging may turn up any large rocks, save those for later. The depth required is determined by the vertical length of your post. Keep the local guidelines related to the height of your mailbox in mind. Place your mailbox on the ground.
Place your level on the horizontal section of the post to confirm it is vertically straight. Begin filling the hole back up with dirt. Large boulders, if available, should be placed in front of the post. When the hole is approximately halfway full, lay a brick horizontally in front of the post for more stability. Check if the mailbox is fit properly according to your requirements.
You may also use concrete to anchor your mailbox. Mix two bags of concrete in your wheelbarrow according to the package directions. Form your concrete into a circular mound at the top so that rainfall slides away from your post. Cover the remainder with topsoil.
6. Creating a mounting board
Because many mailboxes have a recess beneath, they will not sit with your mailbox post. To fix this problem, cut a mounting board from three-quarter-inch dimensional timber using your circular saw. Cut it to the length and breadth of the recessed region so it fits perfectly into the depression and makes attaching the box to your new mailbox post easier.
7. Mounting the mailbox
Centre the mounting board, separate from your mailbox, on the horizontal section of your post where you want the mailbox to sit. Use a row of stainless steel nails to secure it. The mailbox should fit firmly on the mounting board. Attach the mailbox to the mounting board securely with stainless steel screws and a power drill or screwdriver.
With the help of the above-given steps, you will have your customised mailbox that last for years. You can also use your creativity to make any other required changes to your mailbox. Just like the custom letterbox, you can also have decorative screens customized.